How to Start Tissue Culturing at Home for Under $300: A Budget-Friendly Guide
As a content and community manager, I leverage my expertise in plant biotechnology, passion for tissue culture, and writing skills to create compelling articles, simplifying intricate scientific concepts, and address your inquiries. As a dedicated science communicator, I strive to spark curiosity and foster a love for science in my audience.


Wondering “Is it really possible to create a home-based tissue culture lab for just $300?” It might be challenging, but it’s not impossible. You may need to carefully plan and prioritize essential equipment and supplies.
Introduction
The cost involved with plant tissue culture is one of the major limitations of the technique. Believe it or not, this one limitation prevents many plant enthusiasts (maybe you too) to use the technology and integrate it into their plant business.
If you’re here, reading this blog, you might be on the list of people looking for cost-effective approaches to performing tissue culture.
Wondering “Is it really possible to create a home-based tissue culture lab for just under $300?”
It might be challenging, but it’s not impossible.
You may need to carefully plan and prioritize essential equipment and supplies. You need to think about how to effectively utilize your available resources and what corner of your home can you dedicate to the process.
Before we discuss budgeting, cheap alternatives for tissue culture, and how can you create a TC lab for yourself at home in your budget, let’s take a short trip to what tissue culture involves and why is it a costly process.
Tissue Culture: What It Is and Steps involved
Simply, plants grown in jars in a lab environment are known as tissue culture plants and this process is known as tissue culture.

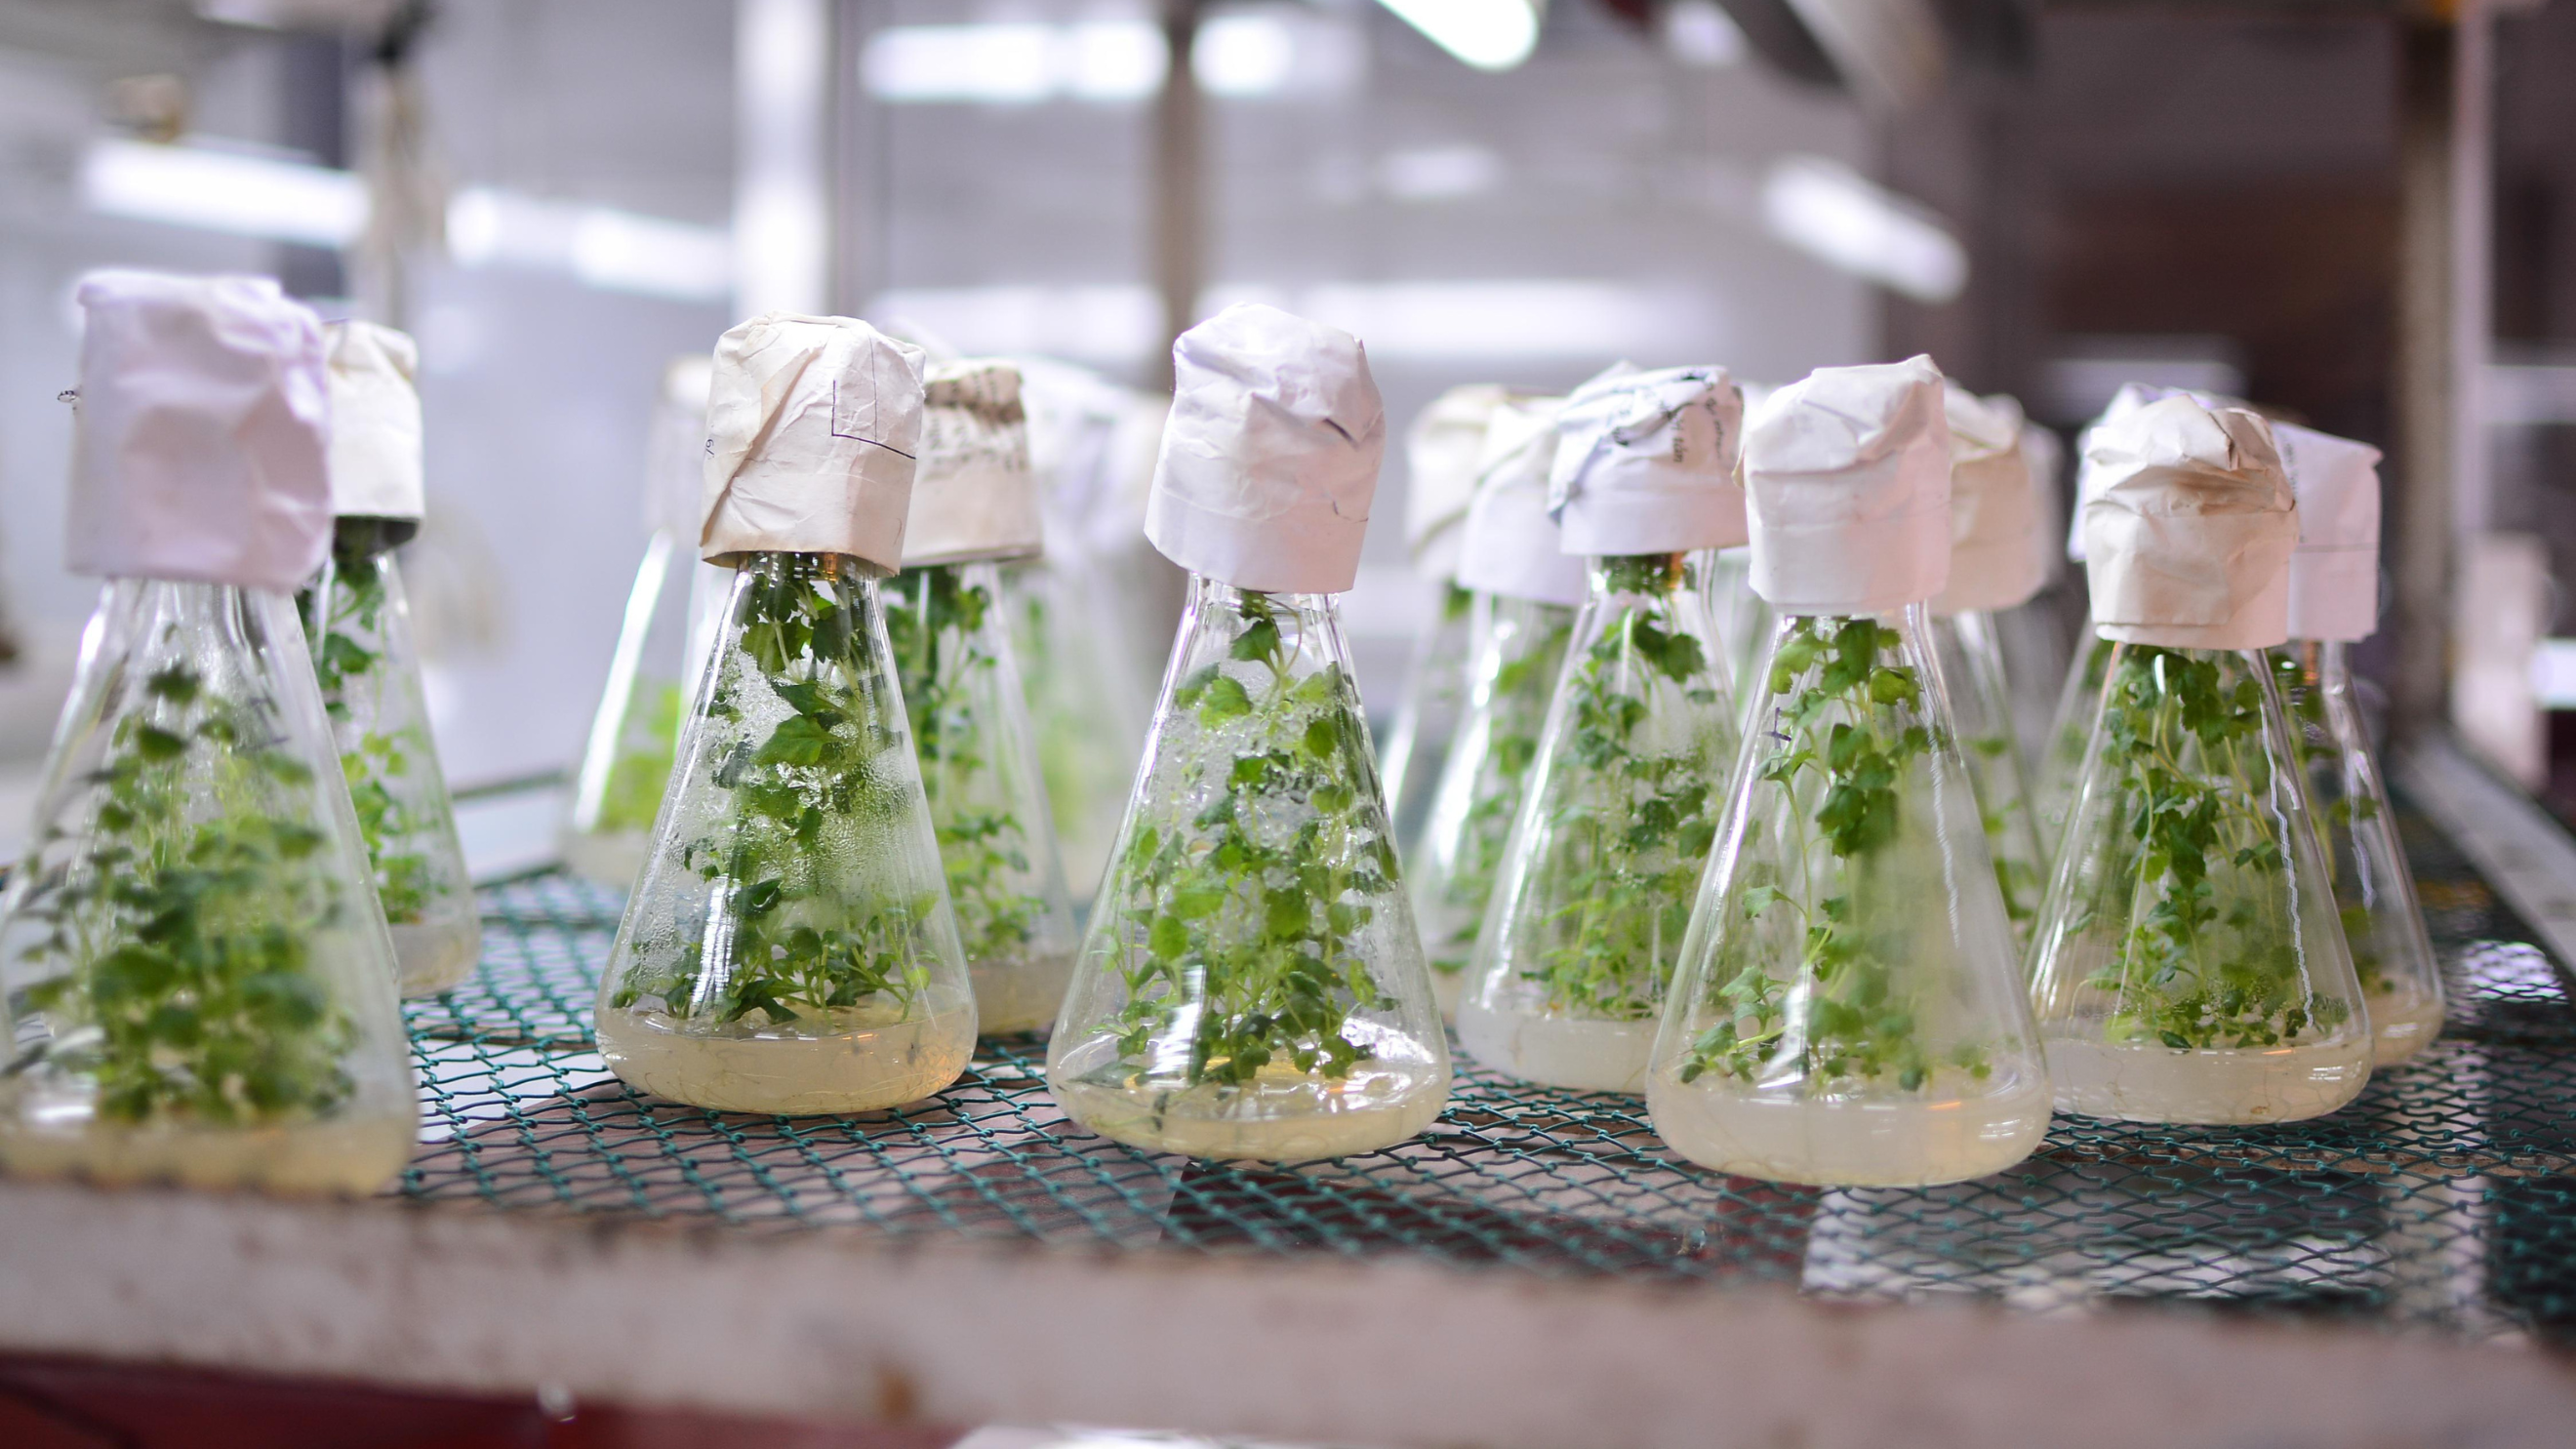
During the technique, the explants are collected from healthy mother plants and introduced in an artificial media under a controlled environment. The process on the whole can be divided into five stages:
- Stage 0: Explant Collection: At this stage, healthy plants are chosen, and healthy tissues are obtained from them. You can take explants from any part of the plant, such as stems, roots, seeds, or leaves.
- Stage 1: Establishment of Aseptic Culture: The obtained explants are cut into required sizes (generally 1-2 cm) and sterilized using chemicals, such as 5% sodium hypochlorite, 0.1% mercuric chloride, or 70% alcohol. You can also use PPM for the surface sterilization step.
The duration of sterilization depends on the specific procedure and the type of plant tissue being cultured. In certain cases, sterilization may be combined with other techniques based on the extent of surface contamination.
After sterilizing the explants, they are placed on a growth medium containing specific components based on the species and method. The medium includes auxin, cytokinin, vitamins, and sucrose. The inoculated explants are incubated under specific light conditions for growth.

- Stage 2: Multiplication of Explants: During this stage, explants are cultured in suitable media and conditions for shoot multiplication and embryo development. Shoots regenerate from the explants and are divided into multiple pieces for further multiplication. Cytokinin-rich media is used to promote growth, and within 4 to 5 weeks, multiple explants can be obtained. Optimal media and environment are crucial for plant survival.
- Stage 3: Rooting of Regenerated Shoots: During the rooting stage, shoots are transferred to a fresh medium containing auxins to stimulate root growth. Each shoot is individually separated and placed in the rooting medium. Rooting can also be induced directly in moist soil or through a gradual hardening process.
Plantlets formed through somatic embryogenesis are transferred to soil for growth and acclimatization. The hardening medium, such as pearlite, peat, or vermiculite, should retain moisture and maintain high humidity. Only well-developed plantlets with roots should be transferred to the soil.
- Stage 4: Acclimatization or Transferring of Plantlets to Soil: Plants grown under in vitro conditions are highly susceptible to diseases and pathogens. The transition from in vitro to a natural environment requires careful handling.
To prevent stress, moisture loss, and disease susceptibility, a hardening process is carried out to gradually expose the plantlets to external conditions. During acclimatization, well-developed roots and the formation of cuticular layers are essential for successful transfer to open fields, ensuring the plants are well-prepared for the new environment.
What Makes Tissue culture An Expensive Process?

Tissue culture is a costly process because of the infrastructure, equipment, and chemicals involved in experimenting. Let’s break down each component of tissue culture one by one and analyze them:
- Infrastructure: Setting up a tissue culture laboratory requires specialized infrastructure, such as cleanrooms, growth chambers, and sterile workstations. These facilities must meet specific requirements to maintain sterile conditions, and control temperature, lighting, and humidity. The cost of acquiring and maintaining such infrastructure can be significant.
- Equipment and Supplies: Tissue culture requires specific equipment and supplies, including growth media, sterilization equipment, culture vessels, chemicals, and growth regulators. These items need to be regularly replenished and maintained, adding to the overall cost. The most expensive equipment used in tissue culture is a laminar flow hood, and the second most expensive is the autoclave. And, both are essential to provide complete sterile conditions to plant tissues.
- Quality Control and Testing: Ensuring the quality and purity of the tissue cultures involves regular testing and monitoring. This includes screening for contamination, genetic stability, and phenotypic characteristics. These quality control measures add to the cost of the overall process.
How Can You Do Tissue Culture At Home Under $300?
Doing tissue culture in your already-owned property significantly reduces the cost associated with building an infrastructure for the process. However, you’ll still need to invest in the equipment and chemicals required for the process.

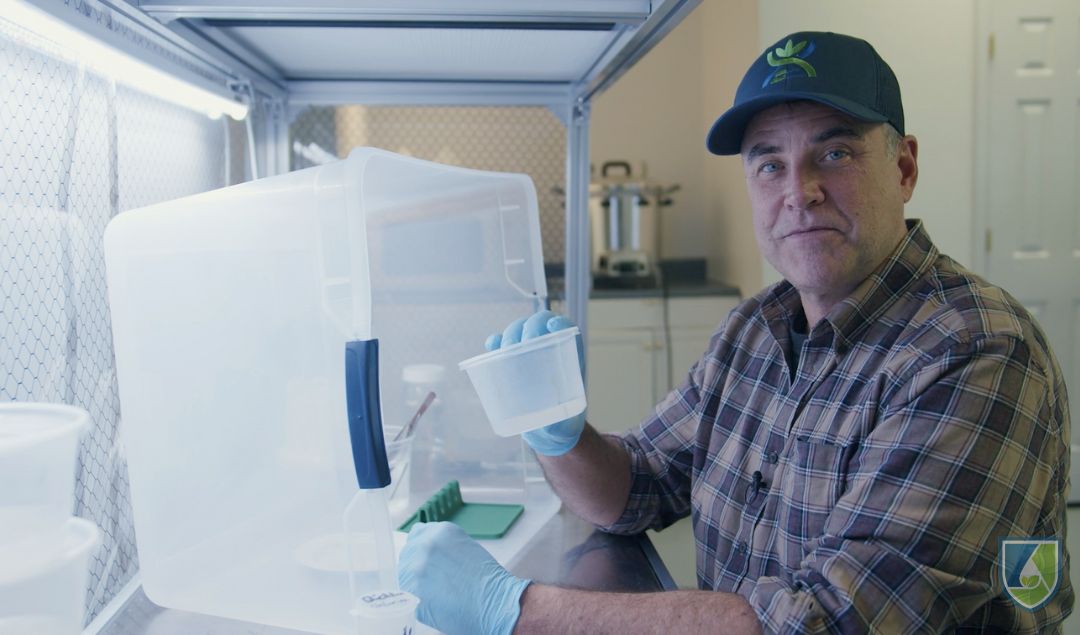
➡️ We know the most expensive equipment to perform tissue culture is a laminar flow hood. However, if you can maintain sterile conditions, then your tissue culture plants can work even without this equipment. You can replace the hood with a simple plastic box, covered in front with a plastic and an air filter. This DIY tissue culture setup can cost you anything between $50-$100, based on the quality and type of air filter you choose.

➡️ In the place of an autoclave, you can use a pressure cooker with a pressure gauge (a new one can cost you around $70-120) or the microwave in your kitchen to sterilize the equipment and media. You must also have chemicals, like bleach, vinegar, sugar, and baking soda in your home and glass jars that you can use to culture your plants after proper cleaning and sterilization. All this hugely cut down the cost spent on chemicals.
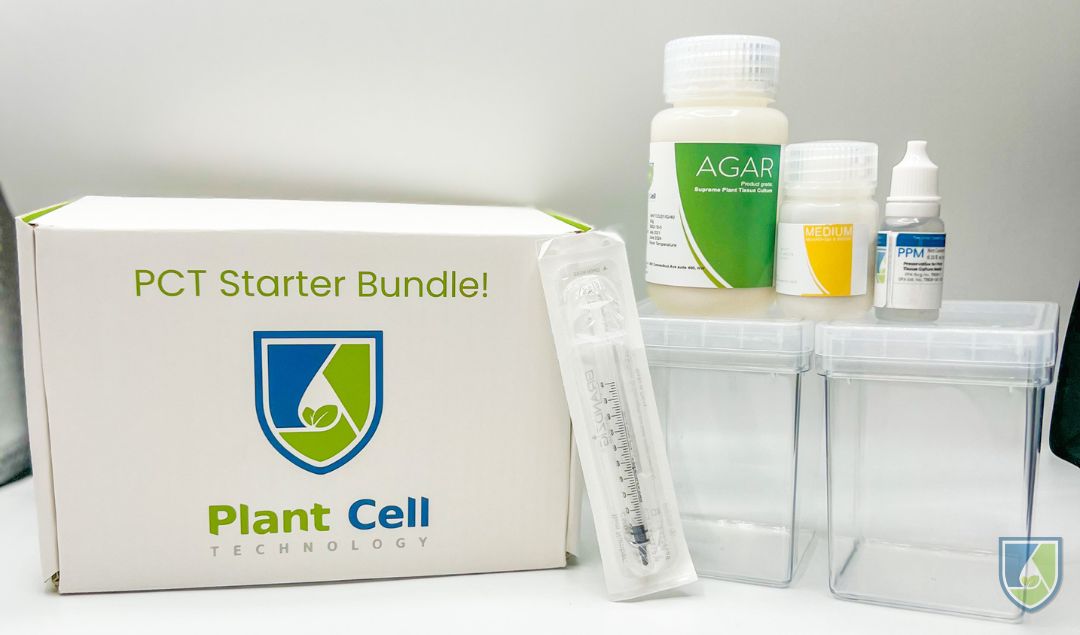
➡️ Rather than buying individual larger pack hormones and media, you can choose cost-effective tissue culture kits to get started. One excellent kit that you can use is Plant Cell Technology’s, Starter Kit. The kit contains everything you need to introduce a plant in tissue culture, such as MS media, agar, PPM, and culture vessel at just $79.99.
➡️ To set up an incubation rack and lights, you might need another $25-50 USD. An additional cost of $25-$50 would be for some other chemicals, such as ethanol, other sterilizing equipment or forceps, or a petri dish you need.
So, all in all, you might need $280-$400 to get started in tissue culture at home.
Remember, the cost differs based on the number of equipment you acquire, their size and quality, and the area of your facility.
We hope this help and we see you creating your own tissue culture space in your very soon!
INTERESTED IN LEARNING ABOUT DOING TISSUE CULTURE IN AN EFFECTIVE WAY? PLANT CELL TECHNOLOGY IS YOUR PARTNER

Tissue culture is now a popular technique among growers and plant businesses to grow plants at a commercial scale. It’s only because of the advantages it offers over the conventional approaches to growing plants, such as producing hybrid plants, disease-free plants, and the requirement of small space.
But, if you’re a beginner in the area and have no knowledge of tissue culture, incorporating this technique into your business model can be challenging. That’s why we bring a comprehensive indoor plant tissue culture master class curated to serve your tissue culture needs.
Our House Plant + Carnivorous Plant Tissue Culture Master class is a comprehensive course curated to prepare you with the knowledge and energy you need to kickstart your plant business. Though it will help you in an indefinite way, here are some advantages of it to name:
Training for the most advanced technology available today for plant propagation—tissue culture.
- Hands-on experience in tissue culture.
- Networking with like-minded people.
- Directly learn from an instructor having 15+ years of experience in the area.
- Get the answers to your questions instantly from the instructor.
- Learn how to build your small-scale or in-house lab or how to take your already established plant business to the next level.
- Work on the plants and learn about the challenges and solutions on the spot with your instructor.
- Getting a certificate to demonstrate our expertise and knowledge about the tissue culture technique.
And, much more!
Interested in learning more about the course? Click here and get the answer to all your questions related to our master class!
Blog Categories
View by Level
Popular Blogs
The Future of Plant Cloning: What’s Next in Tissue Culture Innovation?
Introduction Plant cloning is the process of producing genetically identical copies of a parent plant. This results in offspring that...
Read More
Rose Micropropagation: A Comprehensive Overview
Introduction Valentine’s Day just passed—did you gift a rose to your loved ones? Roses have long been cherished for their...
Read MoreSubscribe to Our Newsletter
2 comments
I like to know more about the low cost option of tissue culture
I like the low cost options of tissue culture



Join the conversation
Your email address will not be published. Required fields are marked